Embedding Python in Android
Java Native Interface
April 22, 2014
**This article is part of a tutorial series. **
- Embedding Python in Android
- Java Native Interface
- Embedding the Python Interpreter
- Adding log to the Python Interpreter
- Include Python Standard Library
- Compile C++ Cython Extensions
- Compile C Cython Extensions
In this tutorial I will show how to write an Android application which uses the Java Native Interface to access native code in C/C++. This will be useful later because we will access our Python interpreter from Java through JNI and C/C++. Our application will be able to compute the square of a number in C/C++ and print it on the Android log. I will assume that the readers know the basic structure of an Android application source code layout, have access to an Android device or simulator, and to its log (logcat).
(This article is based on this one)
Pre-requisites
As for per-requisites for this tutorial you will need a working:
- Android SDK. You can get it from https://developer.android.com/sdk/index.html.
- Android NDK. Check it at https://developer.android.com/tools/sdk/ndk/index.html.
- A working Android IDE such as Eclipse or Android Studio.
Set up your IDE and download the SDK and NDK. I am using Eclipse hence some mentions to Eclipse specific details.
Android Project
In your IDE, Create a new Android Application Project, and name it as you like. Create an application with a Blank Activity.
Before we continue, let's compile it and see if it runs without errors on the emulator or on a device. On Eclipse go to "Project" and "Build Project", then "Run". If the build fails, you need to build the "appcompat jar" file. You should see a "appcompat" project, open that project and run "Project > Build Project". Now, your project should build. Build it and run it on a device or emulator.
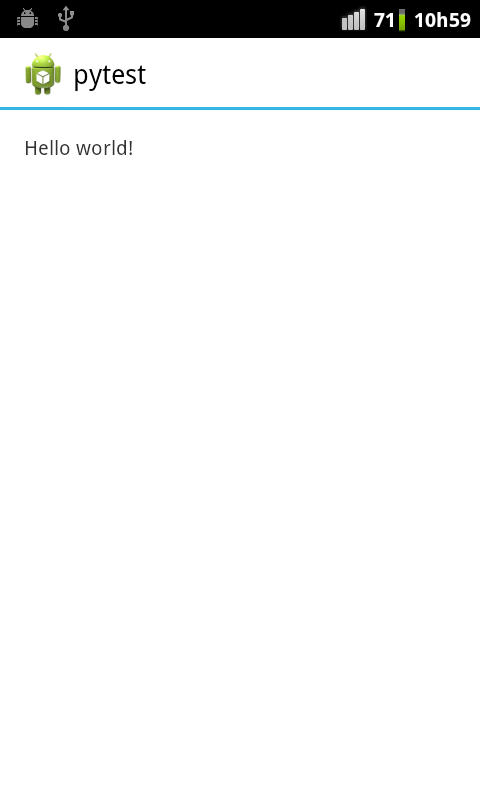
If everything went well, you should see something like:
Java source
We first have to create a Java wrapper to our native library. In your IDE, navigate to your Java source code location (something such /src/com/example/test), and create a new Java class named "Square.java". Update it to be like:
package com.example.pytest;

public class Square {
    // Declare native method (and make it public to expose it directly)
    public static native int square(int value);

    // Load library
    static {
        System.loadLibrary("square");
    }
}
In simple words, we are declaring a Square class which has a native method and loads a library named "square".
Create jni, Android.mk and square.c
With your IDE, create a "jni" folder that will host the source code of our JNI library. Create the folder and two empty files, "Android.mk" (which will contain some build directives for our library) and "square.c" which will contain our library source code.

Create also a "tmp" folder to accommodate some temporary files which we will create.
Generate C header from Square.java
Now we are going to generate the JNI C header from our Java class. We go to terminal console, navigate to our project root folder, and compile the Square.java class.
cd ~/workspace/pytest/
javac -d tmp/ src/com/example/pytest/Square.java
The "-d" option outputs the compiled file to out temporary folder. Now that we have the compiled Square.java, we will generate a C header from it. In the terminal, we will go to the temporary folder, generate the header file, and move it to our "jni" folder.
cd ~/workspace/pytest/tmp/
javah -jni com.example.pytest.Square
mv com_example_pytest_Square.h ../jni/square.h
We should now have "square.h" in the JNI folder. The most relevant bit of this file is the JNI call for the square function which should be something like:
/*
 * Class:     com_example_pytest_Square
 * Method:    square
 * Signature: (I)I
 */
JNIEXPORT jint JNICALL Java_com_example_pytest_Square_square
  (JNIEnv *, jclass, jint);
Generate C source code
Now we are going to generate the JNI C source code for our native "square" library. Open the "jni/square.c" file, copy the square function header from "square.h" (has in the previous code), and implement something like the following:
#include "square.h"

JNIEXPORT jint JNICALL Java_com_example_pytest_Square_square
  (JNIEnv *env, jclass jc, jint value)
{
    return value * value;
}
Our source code is very simple, since we are just returning the square of the number. But later, we will use something similar to access our embedded Python interpreter.
Create Android.mk and build a shared library
After we have the source code and header ready, we are going to create our Android makefile to build our native library. Open the "Android.mk" file and set it up like:
LOCAL_PATH := $(call my-dir)

include $(CLEAR_VARS)

LOCAL_MODULE    := square
LOCAL_SRC_FILES := square.c

include $(BUILD_SHARED_LIBRARY)
It is very important that the local module is called "square" since our Java source code is expecting to load a library named "square".
Now, we are going to compile our native library. Open a terminal and run:
cd ~/workspace/pytest/
ndk-build
You should see something like the following and the compiled library will be in libs/armeabi/. If you do not have the ndk tools in your system path, just add it, or write the ndk tools directory before "ndk-build".
[armeabi] Compile thumb  : square <= square.c
[armeabi] SharedLibrary  : libsquare.so
[armeabi] Install        : libsquare.so => libs/armeabi/libsquare.so
Test the Square.square(int) method
Open the "MainActivity.java" file in your IDE. The Android main activity can be considered an Android application entry point. We will keep things simple and will just output something to the Android console to see if everything is working.
Update your file to match something like the following. We are importing "android.util.Log" so we can output to the Android log, and on the "onCreate" method, we are calling our native "Square.square(int)" and print the result to the console.
import android.util.Log;

public class MainActivity extends ActionBarActivity {

    @Override
    protected void onCreate(Bundle savedInstanceState) {
        super.onCreate(savedInstanceState);
        ...
        int a = 3;
        int b = Square.square(a);
        Log.i("JNIDemo", String.format("%d->%d", a, b));
    }
...
Build, run it and check your logcat with "adb logcat" (or see it in the Eclipse logcat). If everything is working as it should, you should see something like the following in your log:
I/JNIDemo ( 8707): 3->9
Congratulations, you have created your native library! In the following article, we will do something similar, but we will interface it with an embedded Python interpreter. Go to the next article.
Update 18/02/2015
Android Studio makes some things different regarding the JNI. Check this video tutorial to learn the differences.