Django translation tutorial
Settings and translation files
January 10, 2016
This post is part of a tutorial series.
In the previous post of the Django translation tutorial, we implemented a simple view which returns a message defined in the output variable.
def index(request):
    output = 'Welcome to my site.'
    return HttpResponse(output)
On this second post our goal will be to implement the translation of that message. For this we will make use of the Django project created in the previous post. If you did not follow the previous post, you may want to download the project from this link.
Configure settings
By default, Django projects created from scratch are already set up for internationalization (i18n) and localization (l10n). Despite that, open the project settings at langtests/settings.py and make sure that USE_I18N and USE_L10N are set to true:
# Internationalization
# https://docs.djangoproject.com/en/1.8/topics/i18n/

LANGUAGE_CODE = 'en-us'
TIME_ZONE = 'UTC'

USE_I18N = True
USE_L10N = True
USE_TZ = True
One relevant setting to note is the LANGUAGE_CODE, which defines the default language for the entire project. By default, it is set to 'en-us' but later we will be changing it to 'pt-pt' to test that translations are working.
The second thing we must do is add the laguages application to the list of installed apps. Although we could access the view without it, for translations it will be necessary:
# Application definition

INSTALLED_APPS = (
    'django.contrib.admin',
    'django.contrib.auth',
    'django.contrib.contenttypes',
    'django.contrib.sessions',
    'django.contrib.messages',
    'django.contrib.staticfiles',

    'languages',
)
Translation files
In Django, all translatable strings have to be explicitly marked. In Python code, we specify translation strings by using the ugettext() function or the underscore alias. For this example, open languages/views.py and mark the output string as translatable.
from django.utils.translation import ugettext as _
from django.http import HttpResponse

def index(request):
    output = _('Welcome to my site.')
    return HttpResponse(output)
In addition to the import statement, the only significant change is the use of the underscore alias for ugettext.
Creating translation strings
Now that we have identified the translatable strings, we need to create the translation files themselves. In Django, translation files are called message files and have a .po file extension. Django comes with a tool (makemessages) that automates the creation and updates of these files. Although you can execute this script from several places, we'll keep it simple for this tutorial and use it inside the languages directory since it is the only application we have.
For instance, let's create a message file for Portuguese. Inside the languages directory do:
django-admin makemessages -l pt_pt
This will create the following structure in the languages application.
languages/
    locale/
        pt_pt/
            LC_MESSAGES/
                django.po
    migrations/
    (...)
For Linux you can probably use your distribution's package manager (sudo apt-get install gettext or similar). For OSX you can use Homebrew:
brew install gettext
brew link gettext --force
Doing translations
If you check the content of django.po you will find the string ready to be translated to portuguese. In simple terms, the Django makemessages script searches for occurrences of ugettext() and pulls out all strings marked for translation.
To do the translation, just fill the content of msgstr:
#: views.py:5
msgid "Welcome to my site."
msgstr "Bem-vindo ao meu site"
After translating all strings, we must compile the strings with the compilemessages script:
django-admin compilemessages
A new file django.mo will appear next to the message file.
languages/
    locale/
        pt_pt/
            LC_MESSAGES/
                django.mo
                django.po
    migrations/
    (...)
Testing translations
Although everything seems ready for translations, if we point the browser to http://localhost:8000/languages/, we're still going to get the "Welcome to my site." string in English. This is because we have not specified anywhere to which language we should translate the string.
Although there are several options to use for translations, such as allowing the user to select the language, we will test translations by changing the default project language to Portuguese. Open the project settings and change the language code to 'pt-pt':
# Internationalization
# https://docs.djangoproject.com/en/1.8/topics/i18n/

LANGUAGE_CODE = 'pt-pt'  # Use pt_pt as default language
TIME_ZONE = 'UTC'

USE_I18N = True
USE_L10N = True
USE_TZ = True
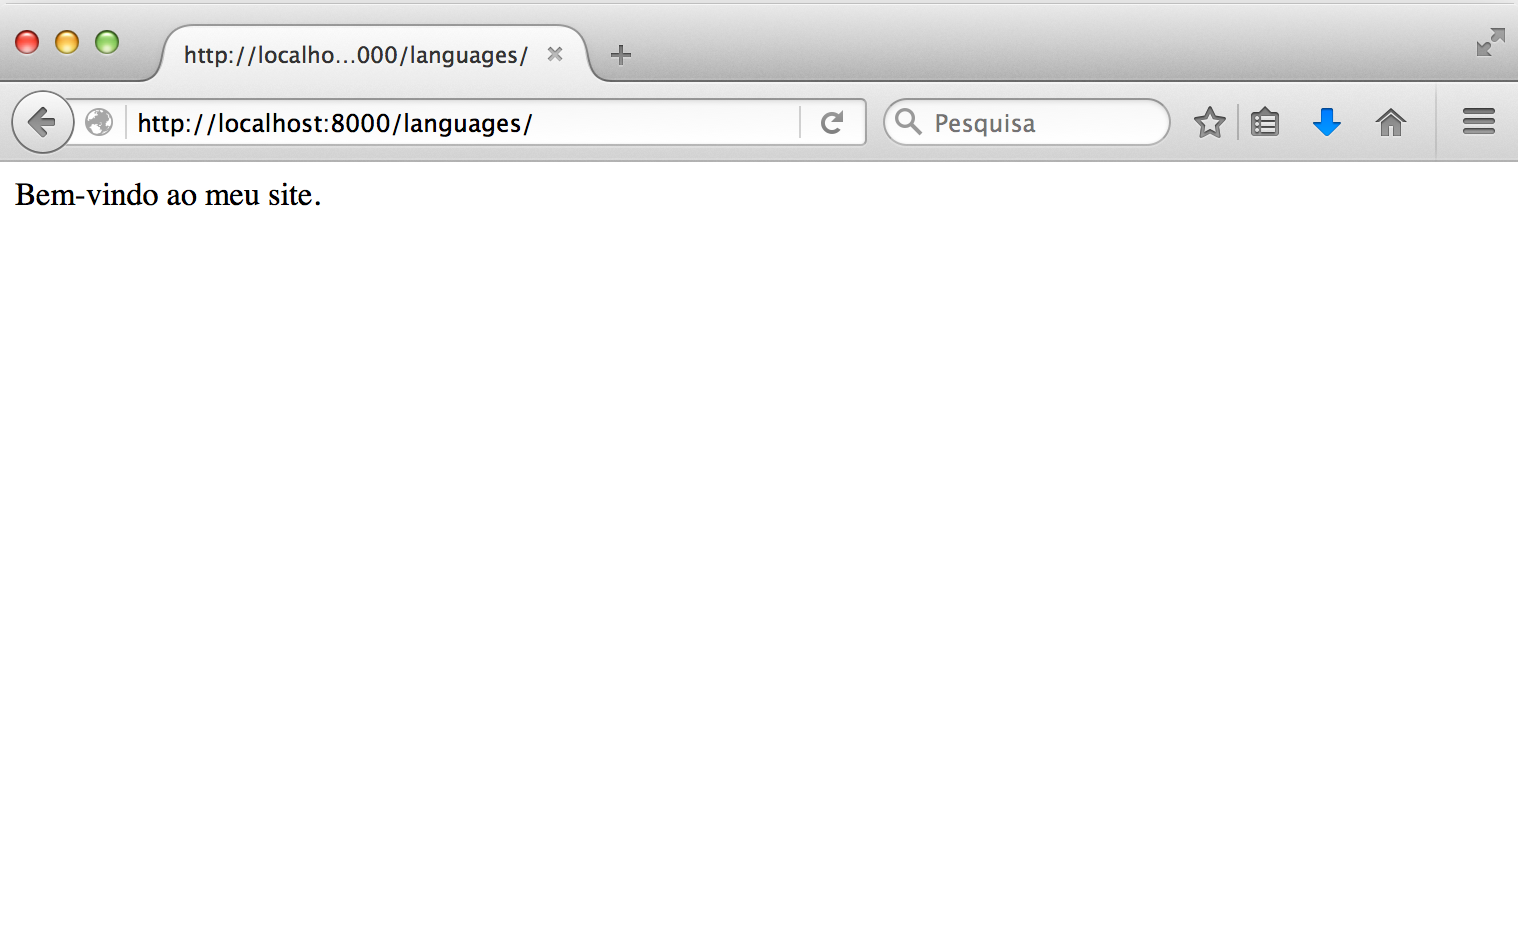
Now point the browser to http://localhost:8000/languages/:

Django will return the string translated into Portuguese.